Your images shouldn’t exist trapped behind a screen—they deserve to be displayed with pride in places that will bring you daily joy. How you display your portraits, however, will depend on your personal taste, your chosen images and the space you’re decorating.
Consider these options for your displaying equestrian art in own home, office or even your barn!
1. 1-3 Statement Pieces
Large artwork is an effortlessly classic way to decorate a space—so it’s no wonder this style is most popular with my clients! Choose one statement canvas, or group three similar canvases or framed prints together. Aim for your art to take up about 75% of the width of any furniture below it. Don’t worry, I can help ensure you get the right size for your space!
Large artwork makes for great conversation pieces, especially in high-traffic areas like living rooms. My clients tend to opt for equestrian details (eyes, ears, etc.), black background portraits or scenic images for statement art.
If your large artwork is going in a more personal space like a bedroom, consider going black & white or choosing candid interactions in soft, muted colors to maintain a calming energy in the room.

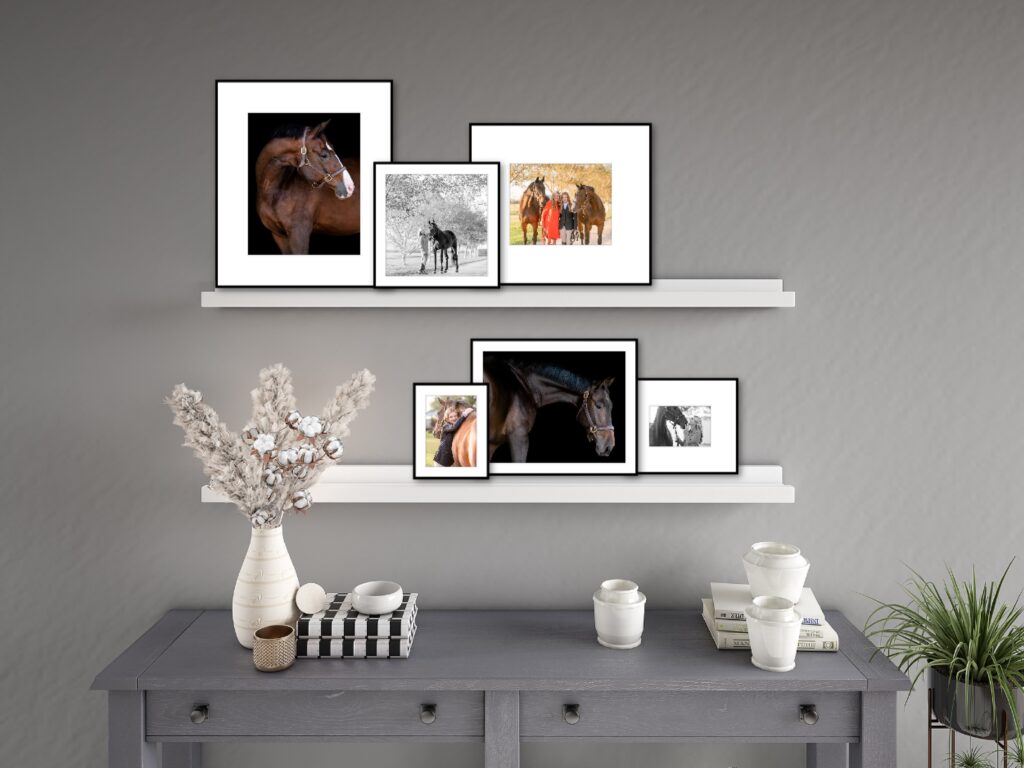
2. Picture Ledges
These are great for those who like to change things up often. While my examples show matching frames, don’t feel limited! Mismatched frames give off an eclectic vibe, while coordinated-but-different frames avoid that matchy-matchy look.
Make sure to use a variety of image sizes. It’s a good idea to go larger (11×14 and up) with your portrait images, and save your 8x10s and smaller for show prints and candid snapshots you’ll want to swap out easily.
Layer smaller artwork over larger cornerstone pieces, and try alternating orientation (ex: a smaller horizontal frame in front of a larger vertical)
Add in texture, color and more personal meeting with mementos you love: a treasured ribbon, your horse’s old shoe, your childhood spurs or that cute horsey tchotchke your grandma found in Europe.
I have this shelf from Amazon in my home office, but higher quality available at Pottery Barn, West Elm & beyond.
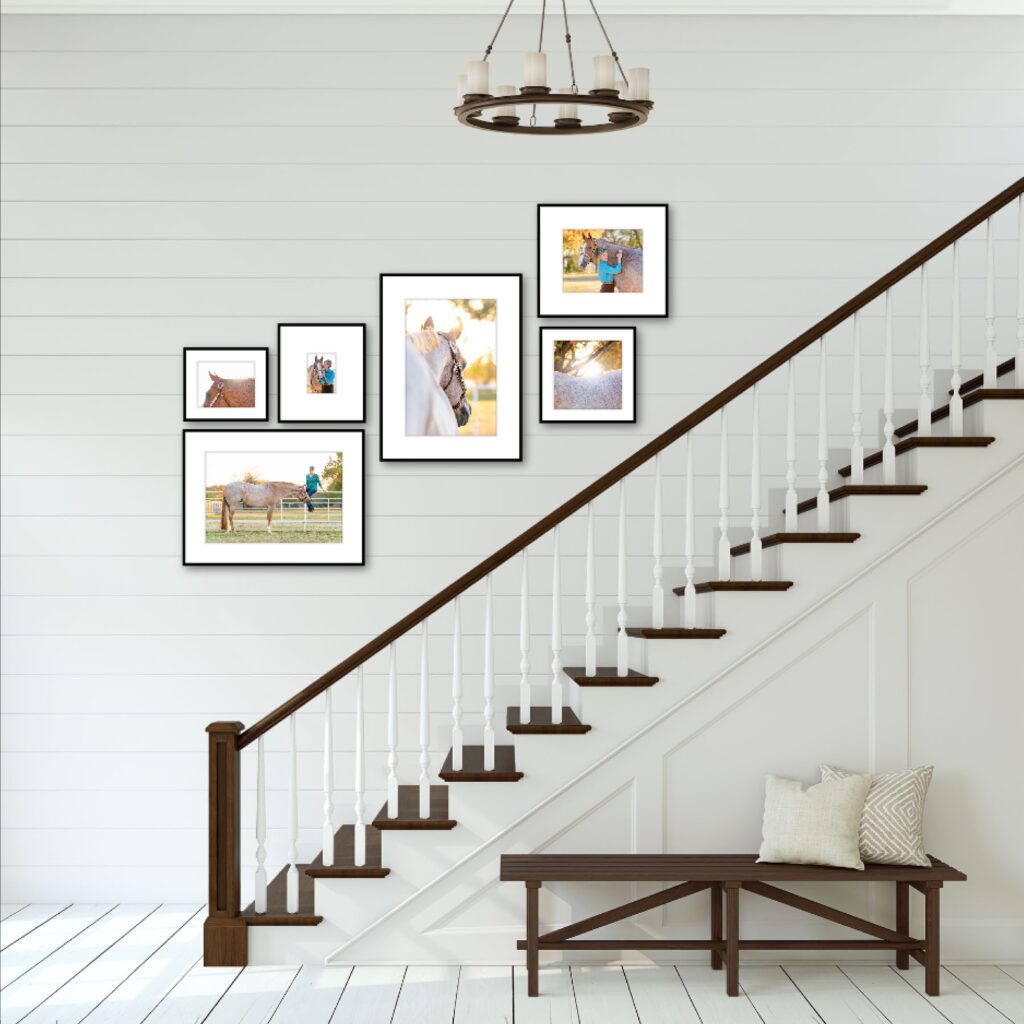
3. Collage-Style Galleries
The perfect option for maximalists! Like a picture ledge, you can mix-and-match different art mediums, image sizes, frame types and more when designing your collage.
It’s helpful to choose at least one anchor image to start from—typically your larger pieces—and hang its center 57” from the ground. From there, hang other pieces 3”-6” apart (give more spaces to larger items, and less to smaller groupings). And vary your size, orientation and material for a cohesively eclectic feel.
You can even use picture ledges to showcase un-hangable mementos, or add even more visual interest to your installation.
This blog by Emily Henderson has more great tips.
Remember to only drill/hammer/hang once! Trace your art onto kraft paper and tape it to your walls to make sure you love your arrangement; this guide from Better Homes and Gardens shows you how.
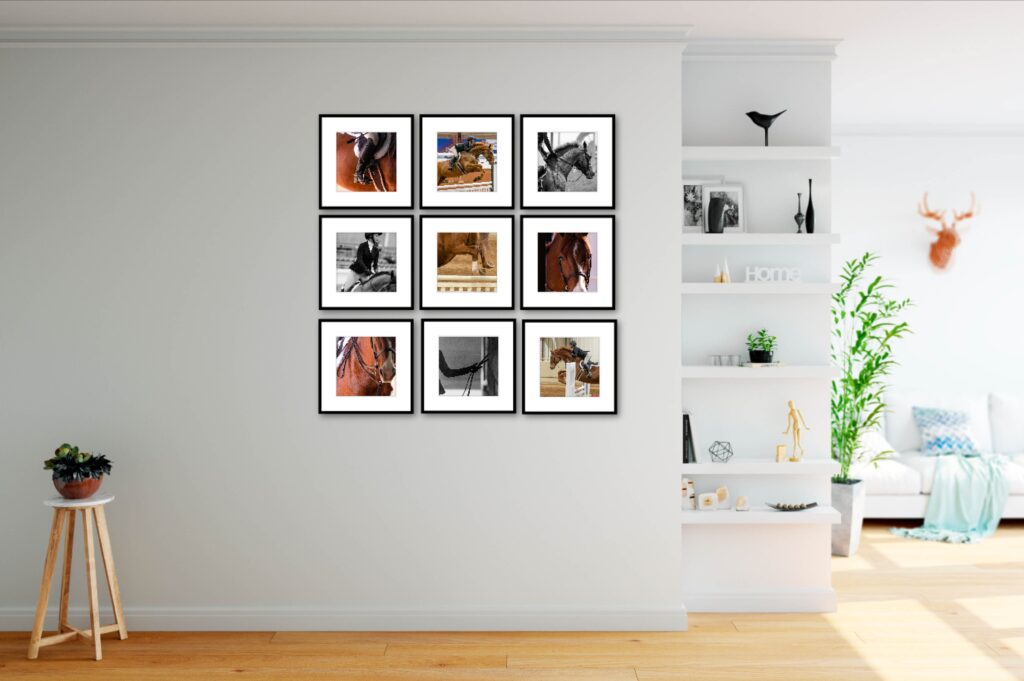
4. The Gallery Grid
The collage’s refined cousin, the gallery grid is a cohesive way to display all the portrait images you love in one space. Choose images that all have a central theme—like from the same portrait session, similar colors (like black and white) or all show photos—so the grouping feels cohesive.
Grids can look good in either matching frames or as canvases! Square-shaped frames or canvases are also an easy choice for your grid.
Remember to keep each piece spaced 3″–6” apart from one another. See the other need-to-know artwork measurements here.
Ready to make incredible memories for yourself & your horse? Contact me to start planning your equestrian portrait session.


